
An issue that was creeping up as I was using my PowerBook 145B was terrible contrast issues with the passive-matrix display. From the start, you had to continually re-adjust the contrast as the machine warmed up, and eventually after using it for a few days, the contrast would completely blow out as soon as you did anything as simple as open the Apple Menu (or a white window, etc). A classic symptom of dead capacitors on this machine. So I ordered a batch of new capacitors and opened the display up and replaced them.
All-new caps. All Nichicon, naturally.
The original capacitor values:
I had trouble finding exact replacements in the same can sizes so I ended up with
As I understand it, the voltages are max ratings, go going for a higher rating has no ill effect.

Since this is my first re-capping, I had to pick up some new tools.
I had a soldering iron and solder, but for this I picked up a soldering iron stand, a bottle of flux, a roll of solder wick and a tweezer.
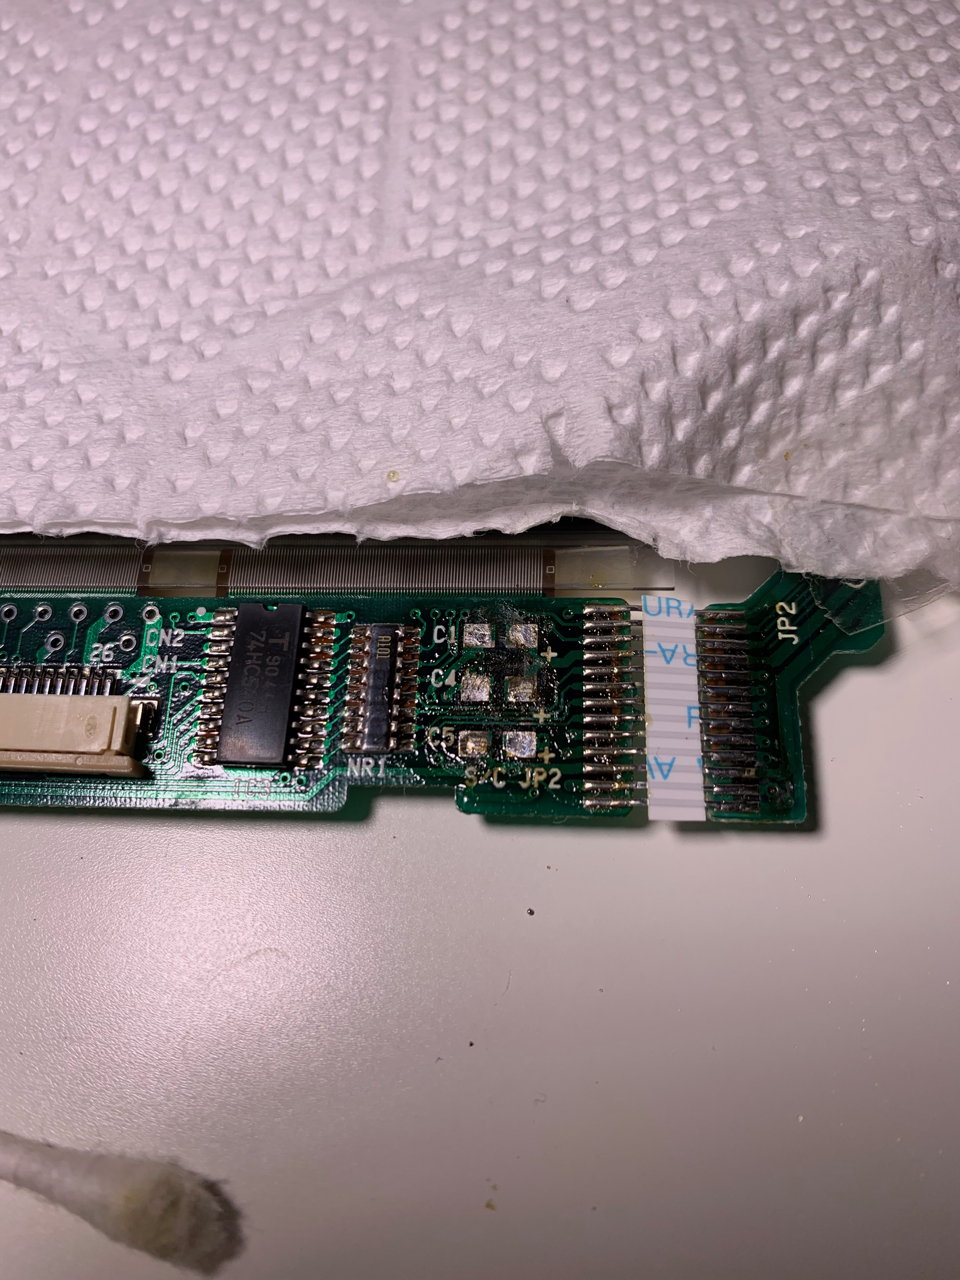
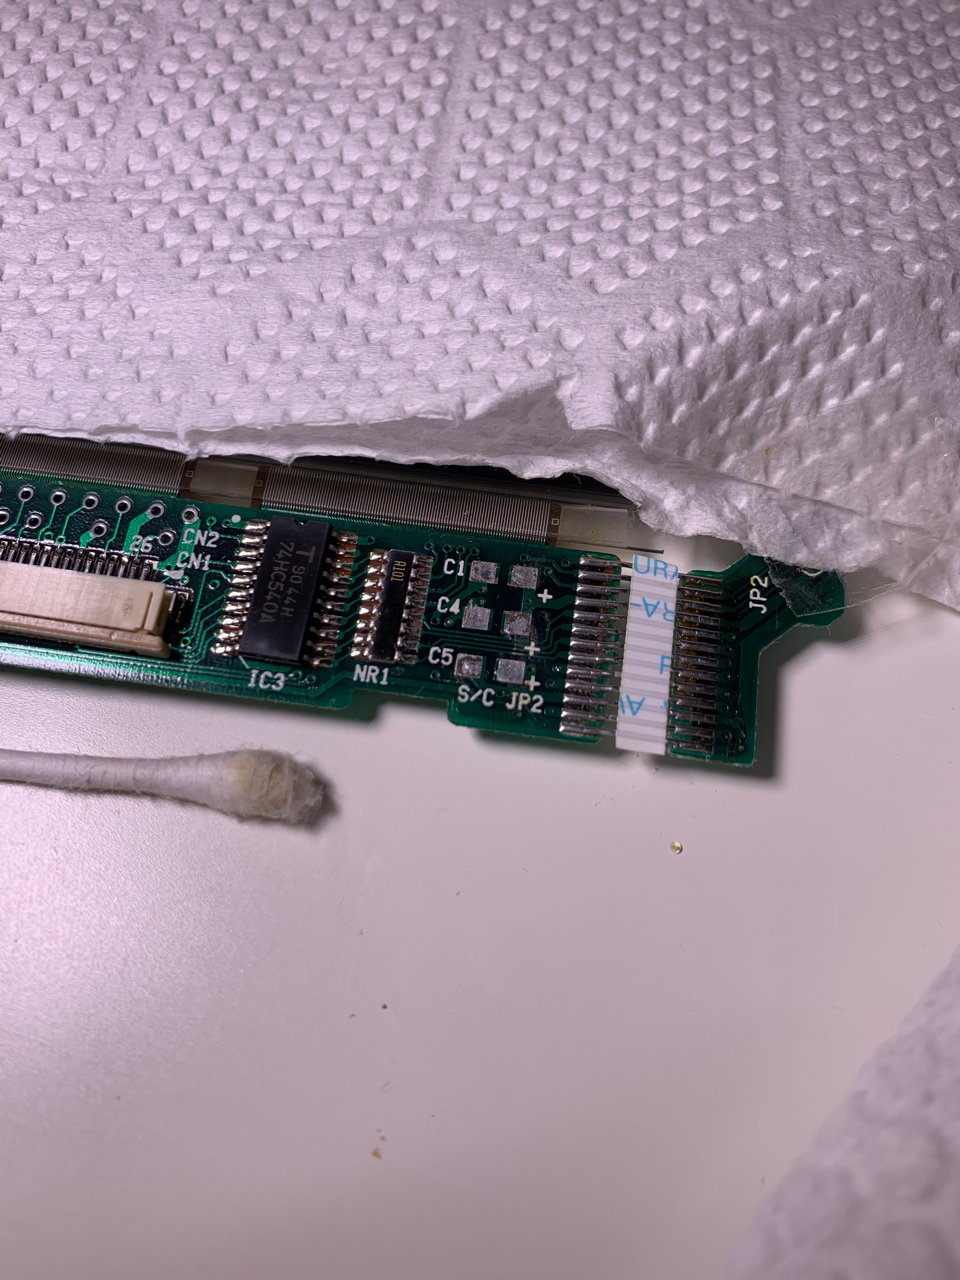
I put a sheet of kitchen roll over the panel to avoid stray solder splatter (I saw some YouTuber do this)
Since this was my first time re-capping, I applied various tricks I've learned from YouTubers and YouTube commenters telling the YouTubers how they're doing everything wrong. Stuff like applying flux, some fresh solder, etc. I did a crap job in general but it did the business.
Before and after cleaning up the expelled capacitor guts.
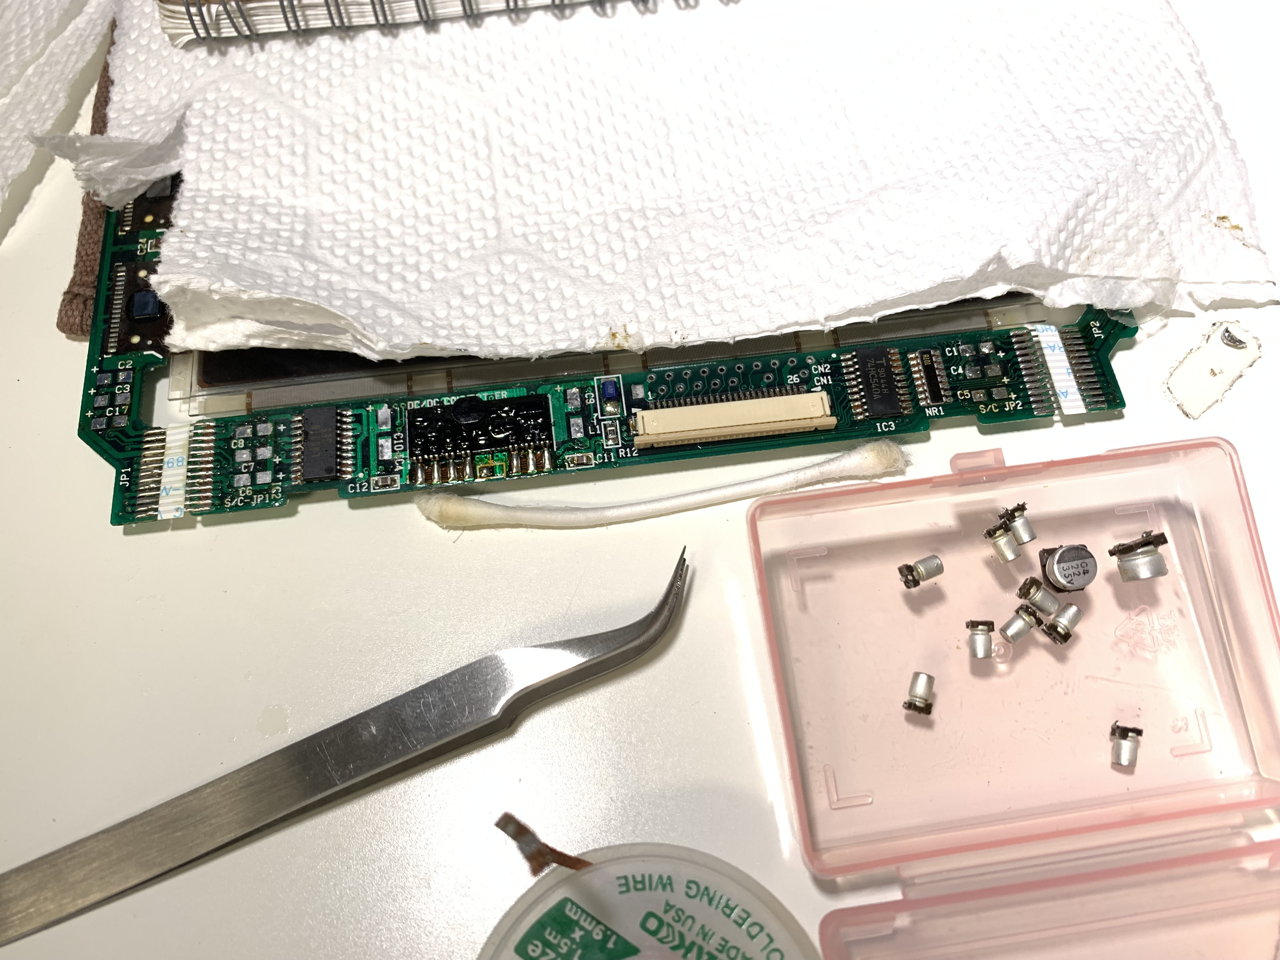
Dead capacitors out
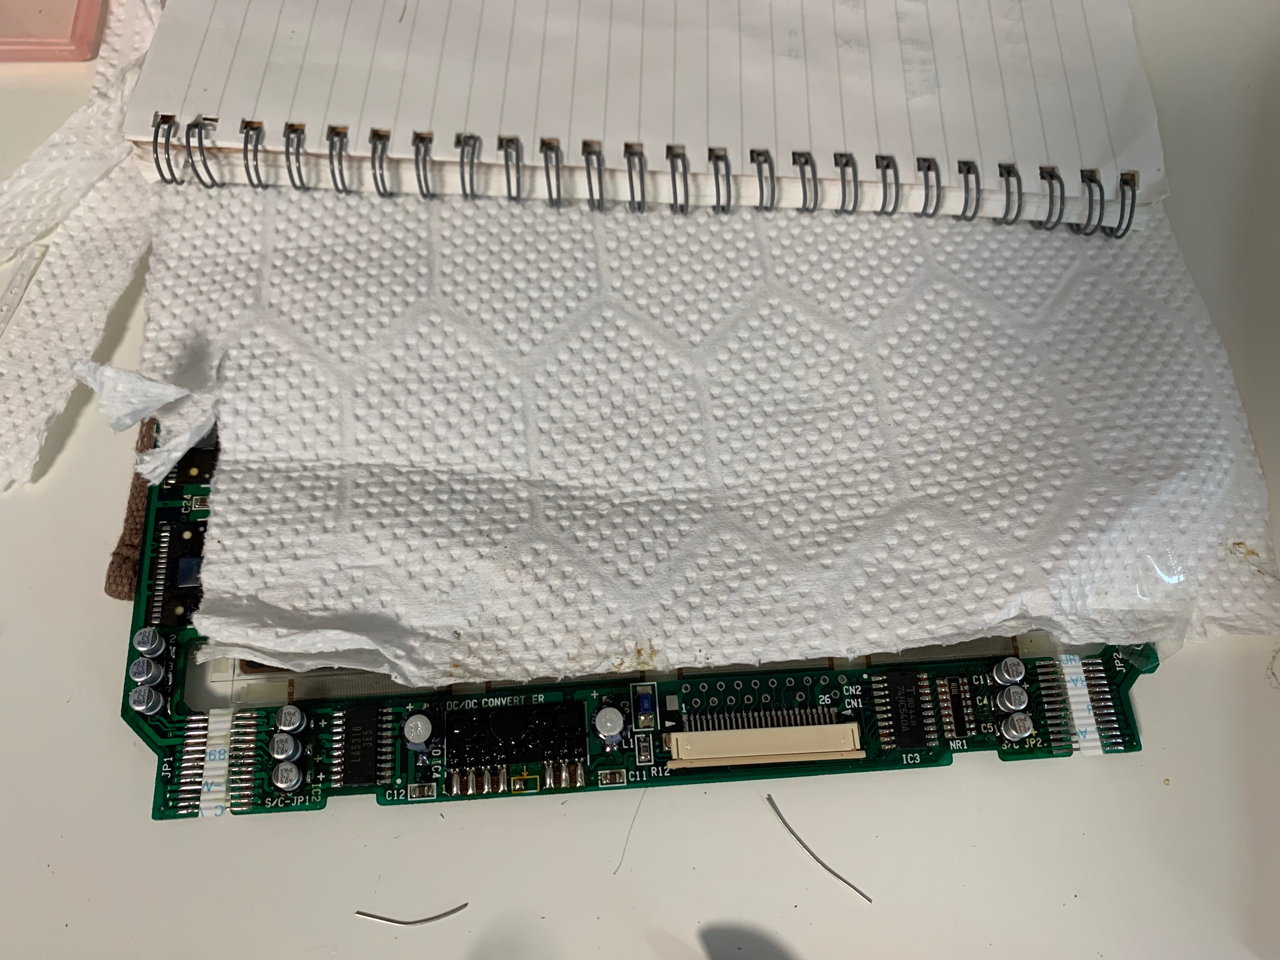
New capacitors in.